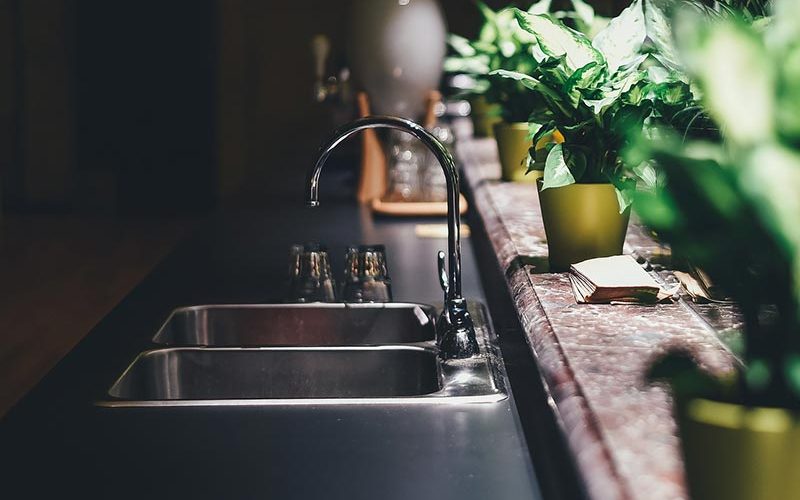
Brand-new marble counters are shiny and reflective. This is because your fabricator spends hours polishing them until they gleam. But as the years go by, that polish will slowly start to fade. Learning how to polish your marble counters will help you restore that gorgeous shine.
Choosing a Polishing Compound
The process of polishing marble is accomplished by rubbing abrasive particles into the surface of the stone. The abrasive particles chip off any rough areas, revealing the smooth and shiny surfaces underneath.
The quality of your polishing compound will have a dramatic effect on your marble’s final shine. To get the smoothing effect you’re looking for, it’s very important that the particles inside the compound are all the same size. Try to find a professional polish that’s intended for use on marble, granite, and other types of natural stone.
If you want to make your counters as shiny as possible, consider using two polishes of different grades. Start with a harsh or priming polish to remove the top layer of stone. Then, follow up with a fine or finishing polish to smooth out the final touches.
Polishing a Marble Counter Step-by-Step
Aside from your polishing compound, you’ll need a microfiber cloth and some water to rinse your counter when you’re done. Plan to work on one small area at a time; otherwise, the polish will dry and might damage the stone underneath.
– Clean the counter. There’s no sense in polishing dirty counters. Clean your marble counter with warm water and mild soap.
– Apply the compound. Some polishing compounds need to be mixed with water, while others come as a premade paste. Apply a small amount to the area you want to polish; you’ll need less than you think.
– Scrub the area. Use your cloth to rub the polish in small circles. Apply pressure to get the best effect.
– Rinse and repeat. Some polishes need to sit, while others should be washed off right away. Either way, rinse the area with water when you’re done. If you’re not satisfied with the results, apply more polish and start again.
– Finish the counter. Use the same technique to polish the entire marble counter. You may also want to do a second round with a finer polish to achieve the most shine.
– Reseal the surface. Polishing rubs away your counter’s seal. Remember to apply a fresh coat of your favorite resin sealer after any major polishing job.
Should You Use a Polishing Tool?
Power polishing tools can smooth large marble surfaces in a matter of minutes. However, they are also difficult to handle, and they can damage your countertop if they’re used incorrectly. You should decide whether to use a polishing tool based on how dull or damaged your counters actually are.
Power polishing is a good choice for marble counters that are stained, etched, or dull enough that the pattern has started to disappear. If you can’t revive a small area with a few minutes of hand polishing, you should save your energy and use a power polisher to finish the job.
Unless you’re confident in your skills, consider hiring a professional to complete heavy-duty polishing jobs. A misused power polisher could strip a large layer off your counter, and the damage might be impossible to reverse. A professional will be able to accomplish the task quickly and safely, and they’ll probably apply a fresh coat of sealer at the end.
Washington Marble Works is happy to help you maintain your marble countertops. Contact us to discuss polishing, repairing, and resealing the natural stone counters in your home.


